Cisco AnyConnect VPN Installation for Mac OS X
Download Cisco AnyConnect
Requires WebID login.
Latest installer for macOS Monterey and newer.
Installation and Setup Instructions for Mac OS X:
Step 1:
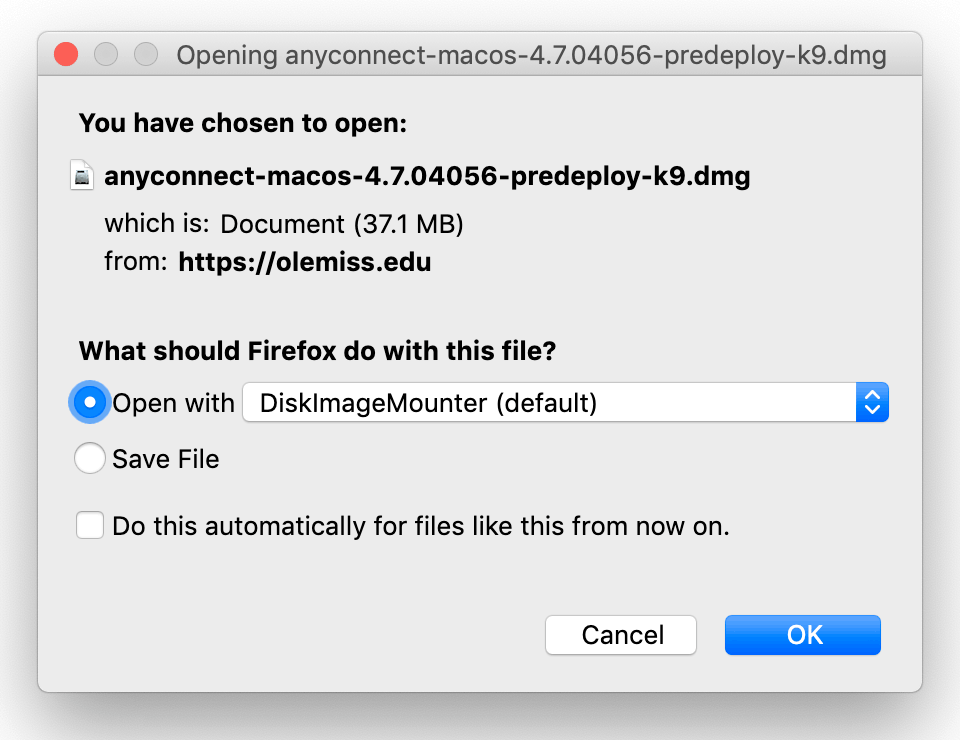
Download the software and open with default DiskImageMounter.
Step 2:
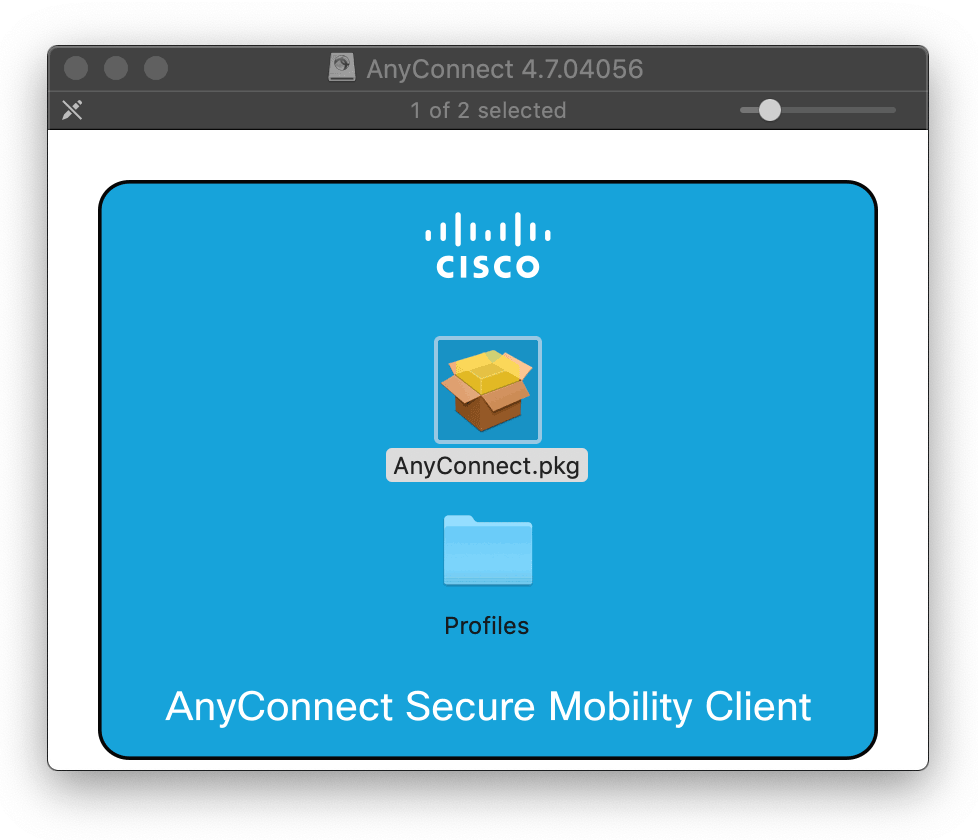
Double-click the AnyConnect.pkg (or Cisco Secure Client.pkg) icon.
Step 3:

Continue through the installation screens, agreeing to the conditions stated.
Step 4:

Uncheck any applications you do not want to install. VPN is the only necessary one.
Step 5:
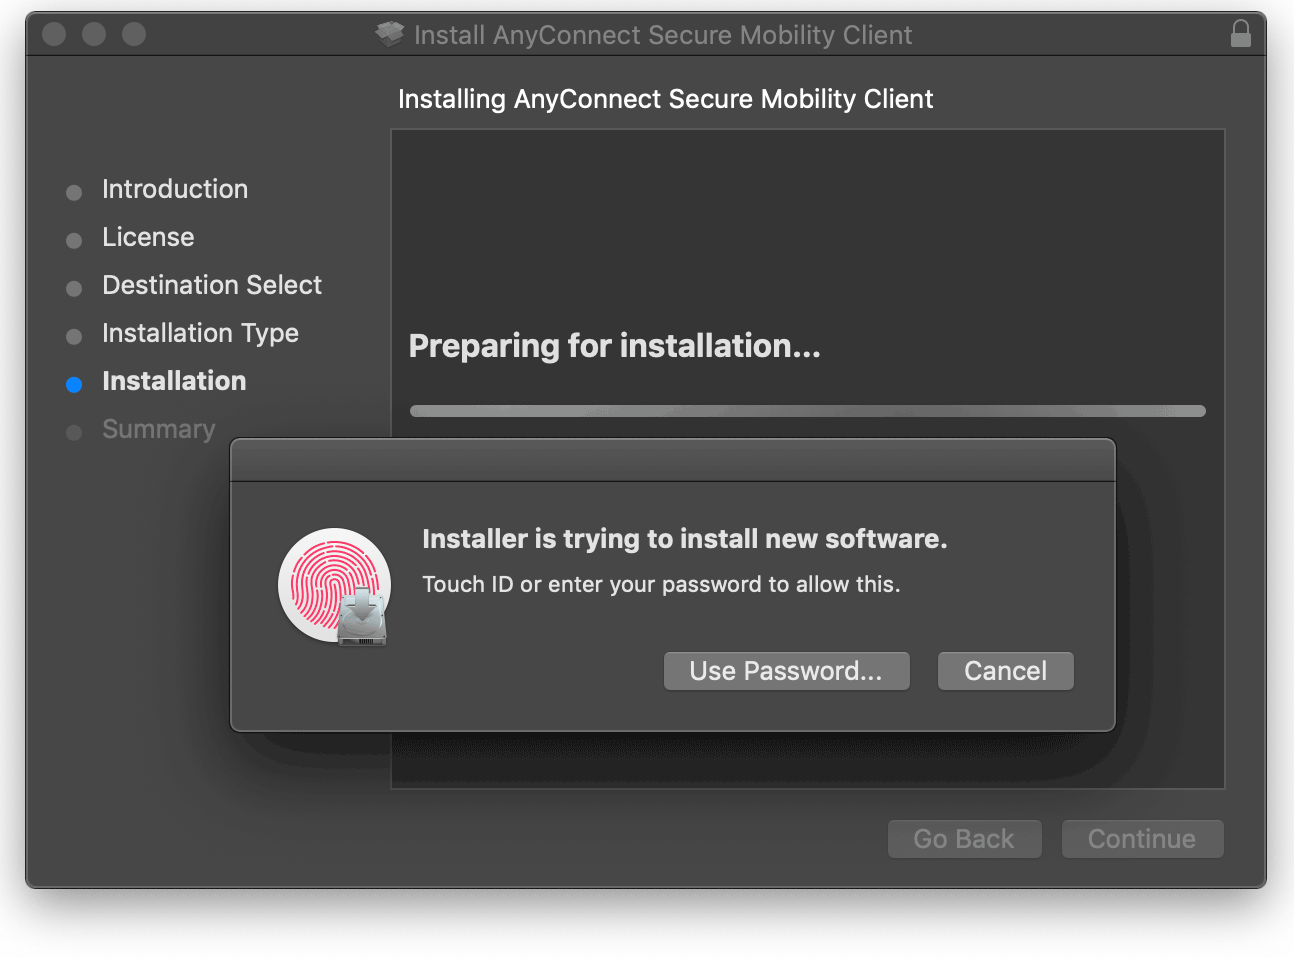
Proceed with installation and verify your Touch ID or password when needed.
Step 6:
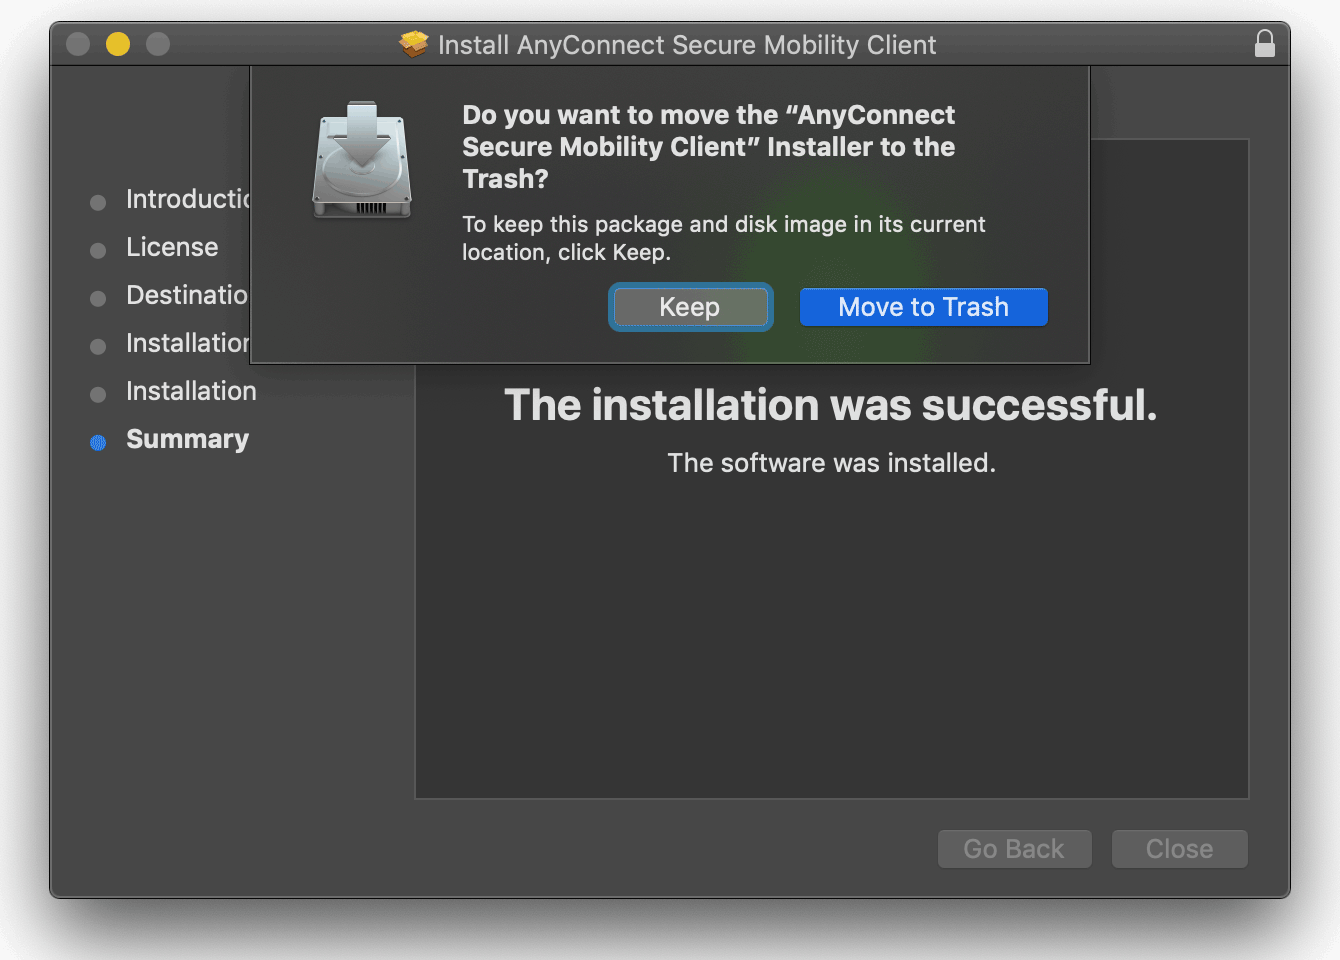
When installation is complete, click Close and then Move to Trash to unmount the installer.
Step 7:
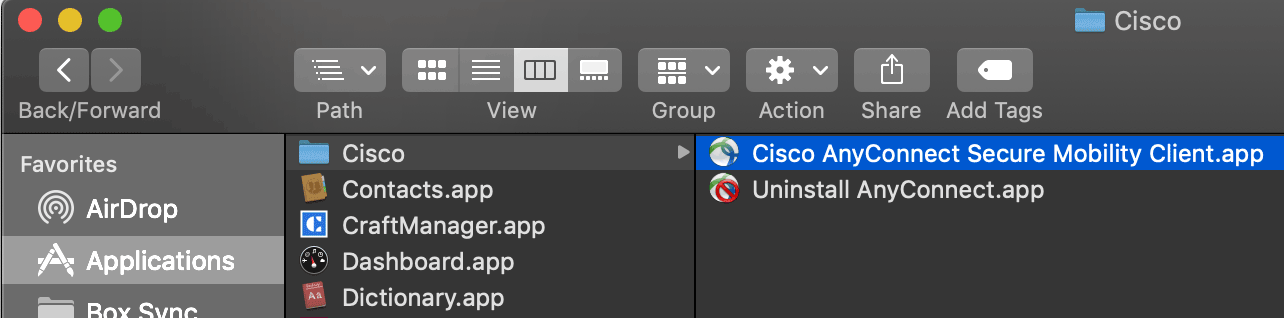
When you are ready to begin a VPN session, locate the application to run it.
Step 8:
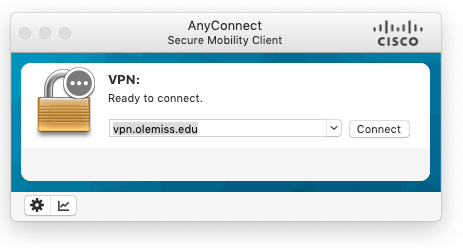
Enter "vpn.olemiss.edu" and click Connect. You will be asked for your WebID credentials. If you have 2-factor authentication setup, you'll need to respond to that also,
Step 9:
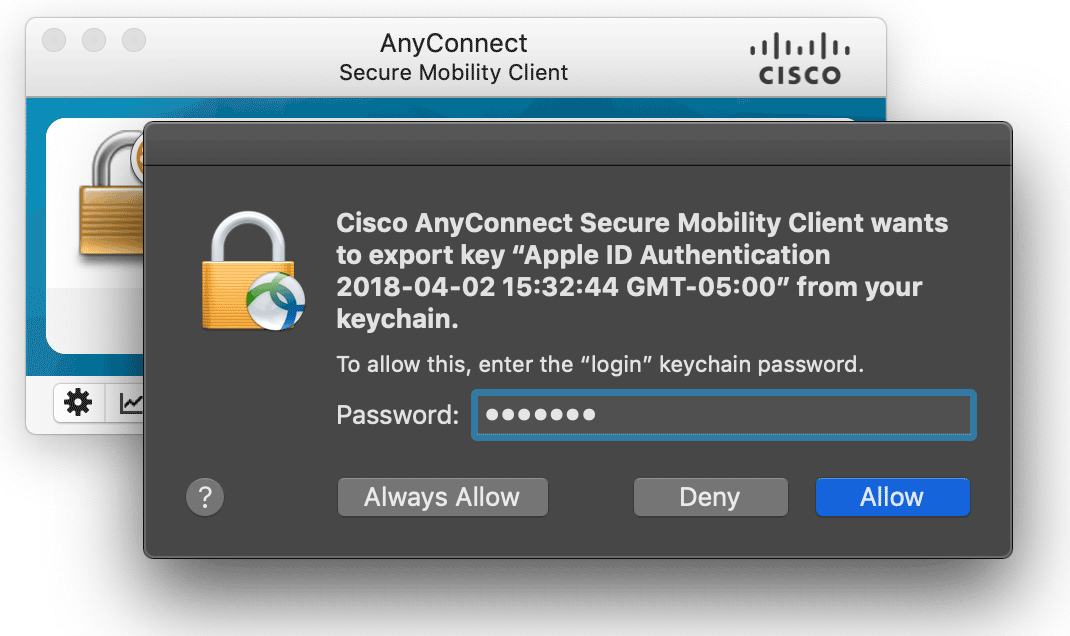
The first time you run the VPN application, you may need to enter the computer's password to allow it to use your keychain.
Step 10:
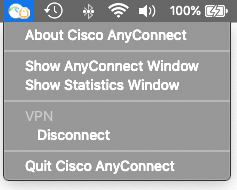
The AnyConnect icon in your status menu will reflect your VPN connection status. To end your VPN session, click the icon and select Disconnect.