Cisco AnyConnect VPN Installation for Windows 10
Download Cisco AnyConnect
Requires WebID login.
Installation and Setup Instructions for Windows
Step 2:
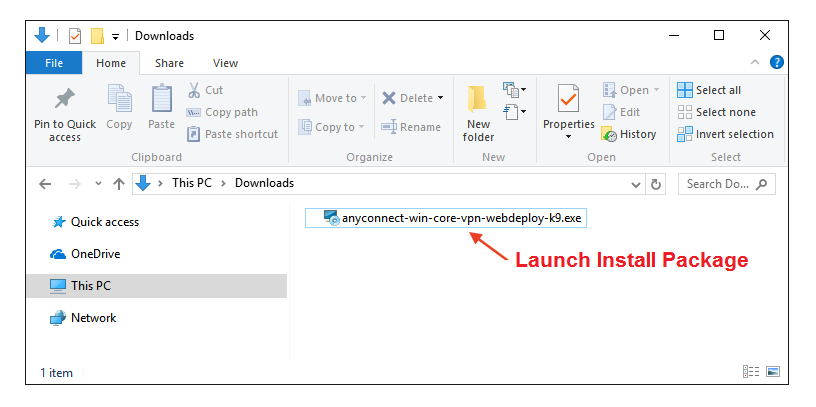
Locate and open the downloaded install package.
Step 3:
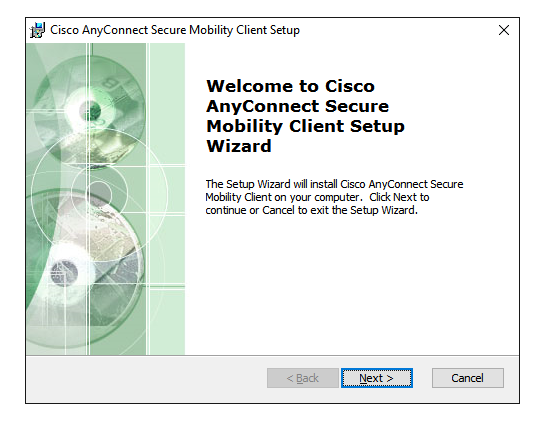
Click Next on the “welcome” screen.
Step 4:
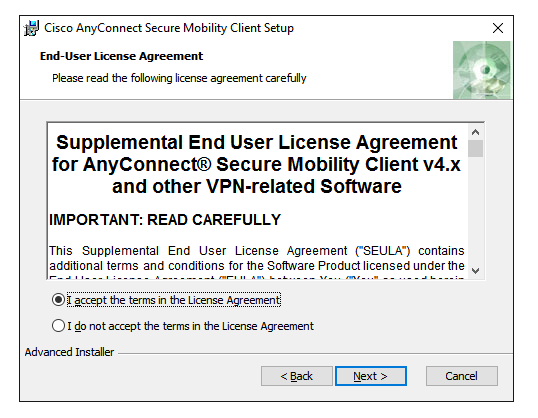
Agree to the Software License Agreement and click Next.
Step 5:
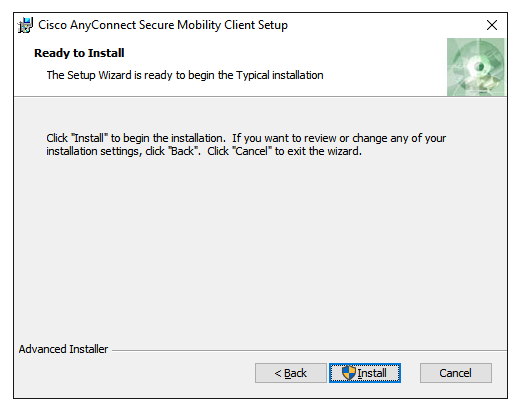
Click Install to begin installation.
Step 6:
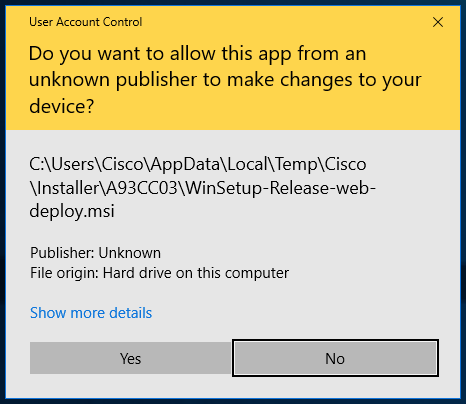
You must have elevated privileges to install Cisco AnyConnect Secure Mobility Client. When prompted, choose Yes to proceed with installation.
Step 7:
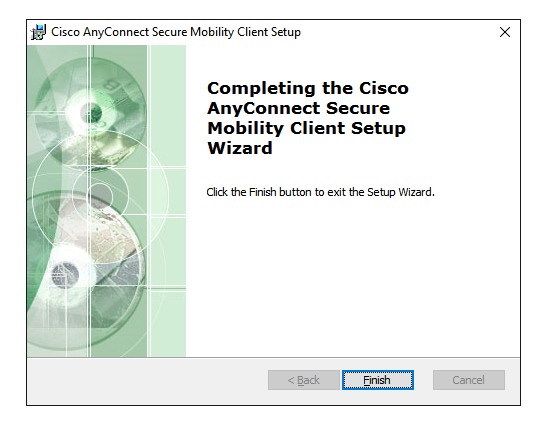
You have successfully installed the Cisco AnyConnect Secure Mobility Client and can begin using it. Click Finish to exit the Setup Wizard.
Step 8:
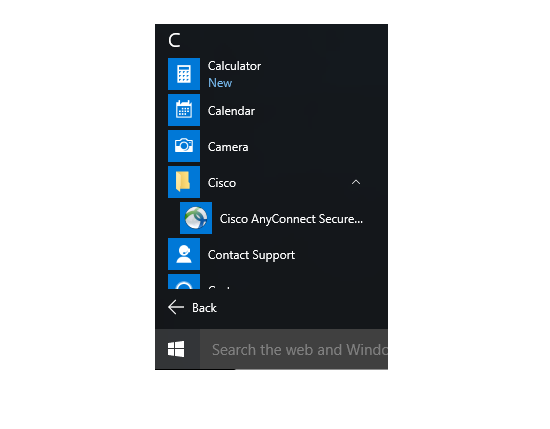
Launch the Cisco AnyConnect Secure Mobility Client from the Start Menu.
Step 9:
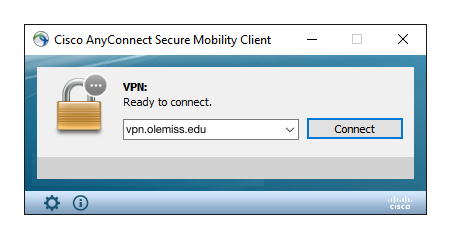
The first time you launch the client, enter "vpn.olemiss.edu".
To establish a secure VPN connection, click Connect. To end your VPN session, click Disconnect.